Easy S’mores Cookie Bars No Campfire Needed
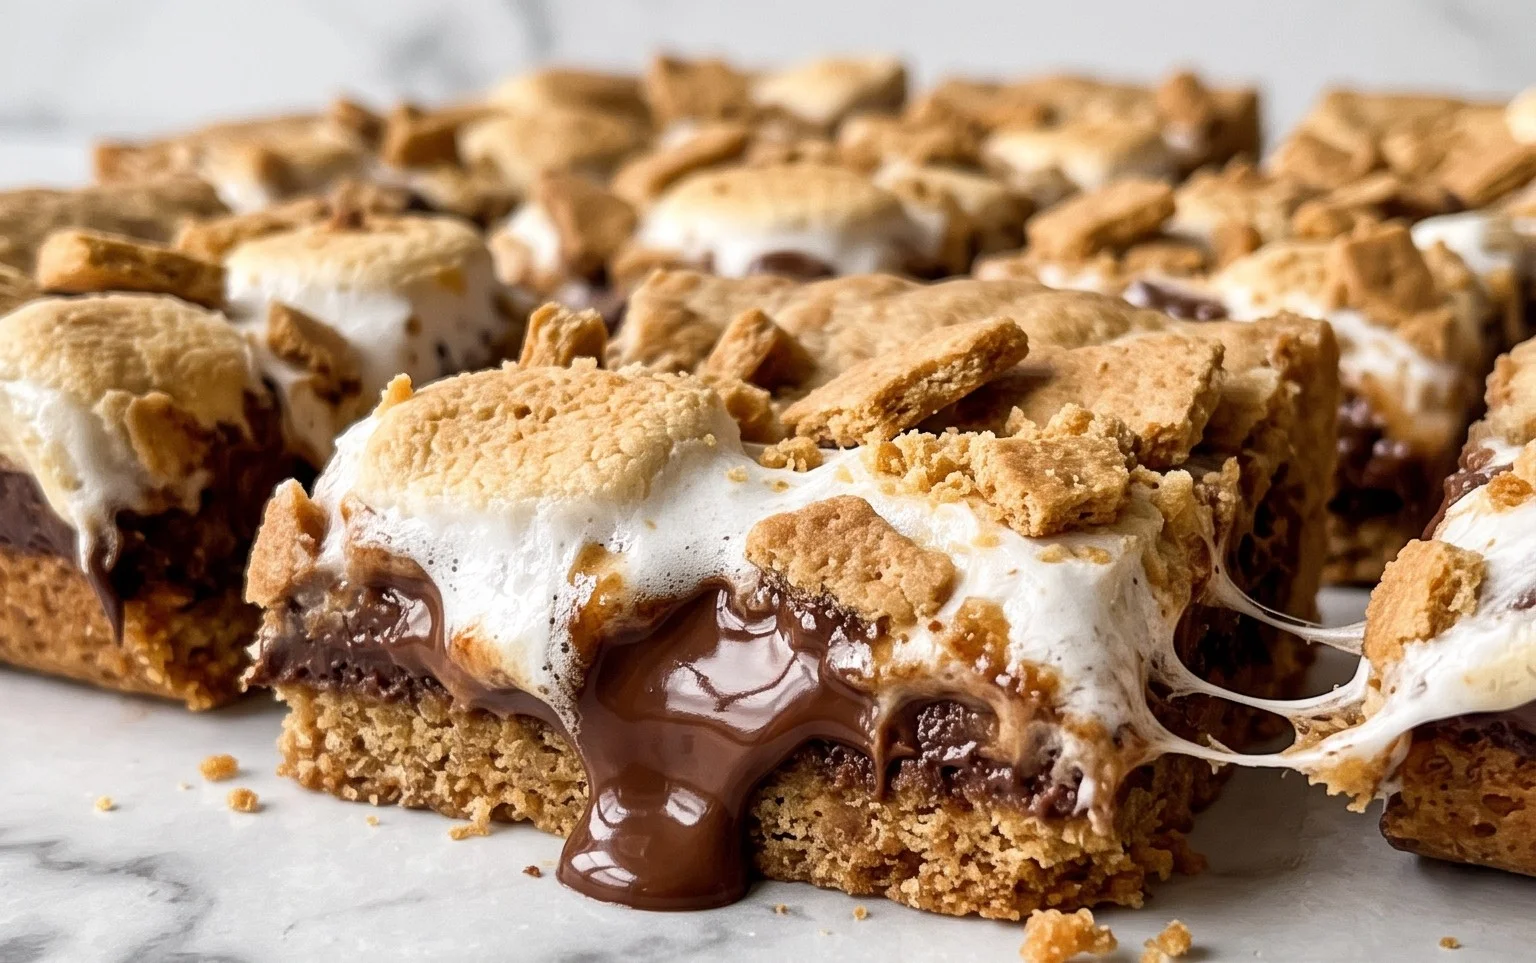
S’mores Cookie Bars are more than just a dessert; they are a portable portal to childhood joy and campfire memories. Who doesn’t remember the thrill of roasting marshmallows, the gooey chocolate melting into crisp graham crackers, all culminating in that perfect, slightly charred bite? I know I do, and that’s precisely the magic we’re bottling up today in these irresistible S’mores Cookie Bars. Forget the sticky fingers and the smoke-filled eyes; these bars deliver all the iconic flavors and textures of classic s’mores in a convenient, bake-able form. What makes these bars truly special is their perfect balance: a buttery, chewy cookie base, a layer of rich, melted chocolate, and that signature gooey marshmallow topping. They’re the ultimate crowd-pleaser, perfect for parties, potlucks, or just a seriously decadent afternoon treat. Get ready to fall in love with this elevated take on a beloved classic.
S’mores Cookie Bars
Oh, the joy of s’mores! That gooey, melty, chocolatey, graham-crackery goodness is a campfire classic for a reason. But what if you’re craving that iconic flavor without the fire pit? Or maybe you just want an easier way to get your s’mores fix? Enter these S’mores Cookie Bars. They capture all the delightful essence of traditional s’mores but in a convenient, shareable, and utterly irresistible bar form. Imagine a chewy, rich chocolate chip cookie base, studded with chunks of melty Hershey’s chocolate, all topped with a blanket of perfectly toasted marshmallows. It’s a dream come true for any s’mores enthusiast, and surprisingly simple to make. These bars are perfect for parties, bake sales, or just a sweet treat for yourself after a long day. They travel well and are always a crowd-pleaser, bringing smiles and happy sighs with every bite.
Ingredients:
- 7-8 graham crackers ((full sheets/unbroken rectangles))
- 1 cup unsalted butter ((2 sticks) room temperature)
- ¾ cup granulated sugar
- ¾ cup light brown sugar (gently packed)
- 2 large eggs
- 2 tsp vanilla extract
- 3 cups all-purpose flour ((stir, spoon, & level))
- ¾ tsp salt
- ¾ tsp baking soda
- ½ cup semi-sweet chocolate chips
- 1 cup mini marshmallows
- 2 regular sized Hershey’s Milk Chocolate Bars ((two 1.55oz/43g bars) broken into squares)
Instructions:
1. Prepare Your Foundation: The Graham Cracker Crust
Before we even think about the cookie dough, we need to get our graham cracker base ready. This layer is crucial for that authentic s’mores flavor. Take your 7-8 full sheets of graham crackers and gently crush them. You don’t want a fine powder; aim for a mix of crumbs and slightly larger pieces – this will give our bars a lovely texture. You can do this by placing them in a zip-top bag and giving them a good roll with a rolling pin, or by pulsing them briefly in a food processor. Once crushed, set them aside. Now, preheat your oven to 350°F (175°C). Line a 9×13 inch baking pan with parchment paper, leaving an overhang on the sides. This will make it incredibly easy to lift the bars out once they’re baked.
2. Creaming the Sweetness: Butter and Sugars Unite
In a large mixing bowl, cream together the softened unsalted butter, granulated sugar, and gently packed light brown sugar. This is where the magic begins to happen, building the foundation of our chewy cookie base. Use an electric mixer (handheld or stand mixer with a paddle attachment) on medium speed until the mixture is light and fluffy. This process incorporates air, which is essential for a tender cookie bar. Don’t rush this step; it might take 3-5 minutes. Scrape down the sides of the bowl as needed to ensure everything is well combined.
3. Adding Richness and Binding: Eggs and Vanilla
Once the butter and sugars are perfectly creamed, it’s time to add the wet ingredients. Crack in your two large eggs, one at a time, beating well after each addition until fully incorporated. Next, stir in the vanilla extract. The vanilla enhances the sweetness and adds a warm depth of flavor that complements the chocolate and marshmallow beautifully. Continue to mix until everything is smooth and well combined.
4. The Dry Ingredients: Building the Cookie Dough Structure
In a separate medium bowl, whisk together the all-purpose flour, salt, and baking soda. Whisking ensures that the leavening agents (baking soda) and salt are evenly distributed throughout the flour, preventing pockets of saltiness or uneven rising in your bars. Now, gradually add the dry ingredients to the wet ingredients in the large mixing bowl. Mix on low speed until just combined. Be careful not to overmix at this stage; overmixing can develop the gluten in the flour too much, leading to tough cookie bars. We want tender, chewy bars, so mix only until no streaks of flour remain.
5. Incorporating the Chocolatey Goodness: Chocolate Chips and Graham Cracker Crumbs
Now for the fun part of building the cookie dough base! Gently fold in the ½ cup of semi-sweet chocolate chips. You can also fold in about half of your crushed graham crackers at this stage if you want a more integrated graham cracker flavor within the cookie dough itself. This adds little bursts of chocolatey goodness throughout the bar. Now, take about two-thirds of this cookie dough and press it evenly into the bottom of your prepared 9×13 inch baking pan. Use the back of a spoon or your fingers (lightly floured if sticky) to create a solid, even layer. This forms the base of your s’mores cookie bars.
6. Layering the S’mores Dream: Chocolate and Marshmallows
Once the base cookie dough is pressed into the pan, it’s time to layer on the s’mores components. Scatter the broken squares of the two Hershey’s Milk Chocolate Bars evenly over the cookie dough base. Don’t worry if they don’t cover it perfectly; they will melt and spread during baking. Next, sprinkle the mini marshmallows evenly over the chocolate layer. This creates that signature gooey marshmallow topping that we all love.
7. The Grand Finale: Topping and Baking
Finally, take the remaining one-third of your cookie dough and dollop it randomly over the marshmallows. You can also gently press the remaining graham cracker crumbs over the top for an extra crunch and visual appeal. Now, it’s time to bake! Place the pan in your preheated oven and bake for 25-30 minutes, or until the edges are golden brown and the marshmallows are puffy and starting to turn a lovely golden-brown color. Keep an eye on the marshmallows towards the end of baking, as they can go from perfectly toasted to burnt very quickly.
8. Cooling and Cutting: The Hardest Part!
Once baked to perfection, remove the pan from the oven and let the S’mores Cookie Bars cool completely in the pan on a wire rack. This is crucial for allowing the bars to set up properly. If you try to cut them while they’re still warm, they will be a gooey mess (though still delicious!). Once completely cooled, use the parchment paper overhang to carefully lift the entire slab out of the pan onto a cutting board. Cut into squares or rectangles, and prepare for s’mores bliss! These bars are best enjoyed at room temperature, but a quick reheat in the microwave for a few seconds can bring back that melty, gooey s’mores magic if desired. Enjoy every single bite of this delightful homemade treat!
Conclusion:
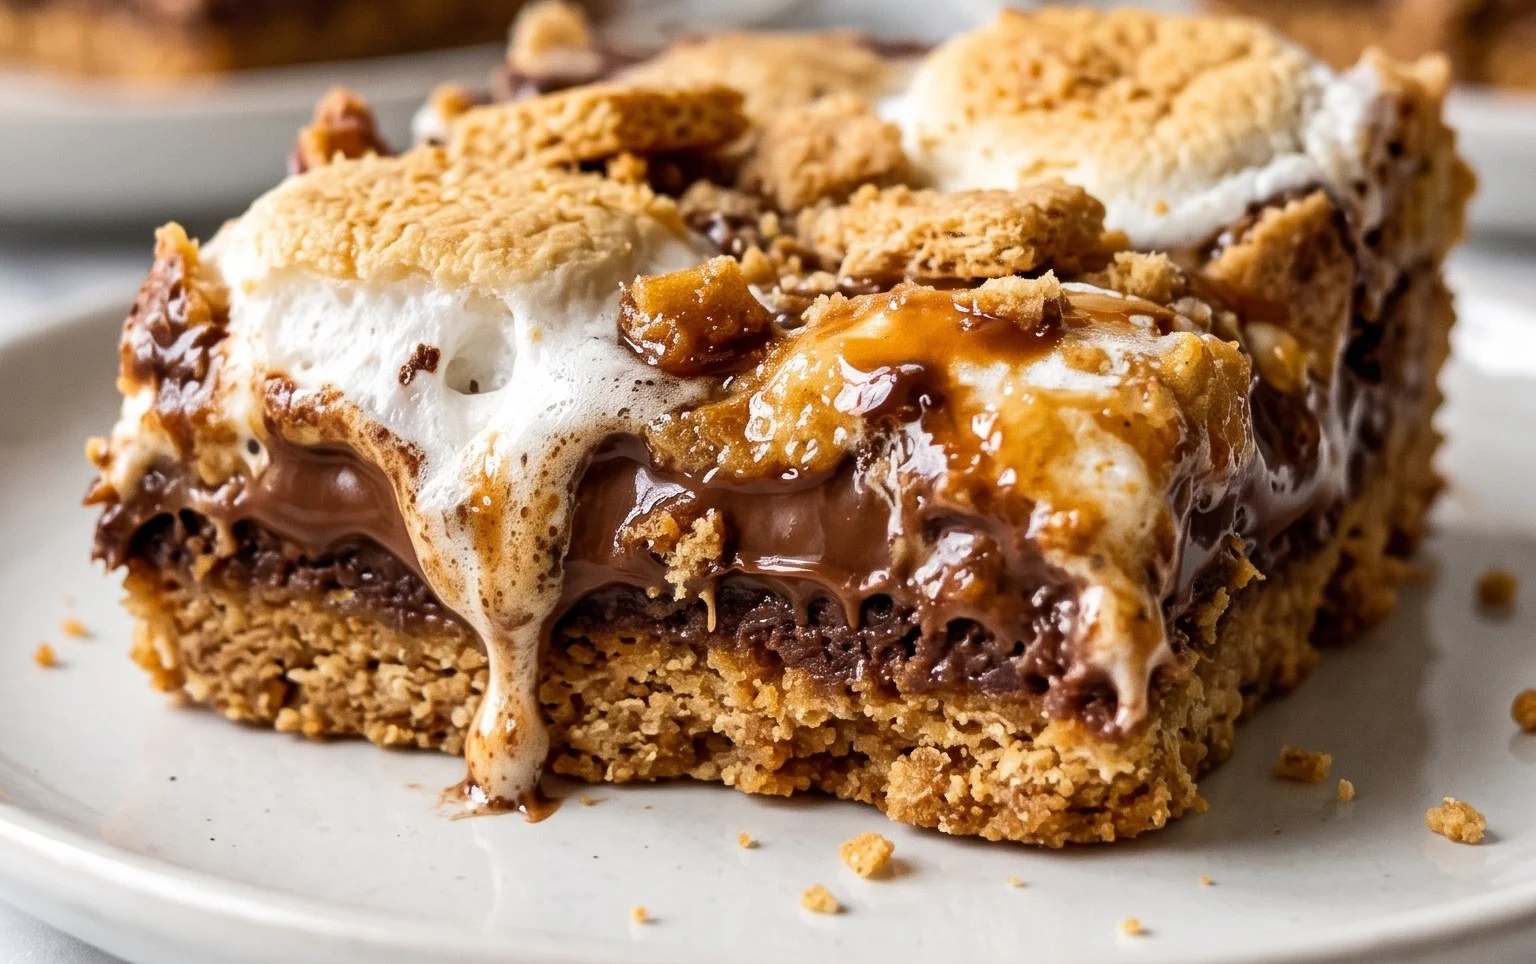
So there you have it – your ultimate guide to creating these irresistible S’mores Cookie Bars! What makes these so fantastic? It’s that perfect marriage of textures and flavors: a buttery, chewy cookie base, a gooey melted chocolate layer, and that signature toasted marshmallow topping. It’s basically all the magic of campfire s’mores, but in a convenient, shareable bar form that you can enjoy anytime, anywhere. These bars are incredibly versatile, making them a hit at parties, potlucks, or just a cozy night in. For serving suggestions, I love them slightly warm, straight from the oven, so the marshmallow is extra melty. They’re also delicious at room temperature, making them ideal for make-ahead treats.
Thinking about variations? You can absolutely get creative! Try adding a sprinkle of flaky sea salt on top before baking for a sweet and salty kick, or swirl in some peanut butter into the chocolate layer for a peanut butter s’mores twist. For an extra decadent touch, use a mix of dark and milk chocolate chips. Don’t be afraid to experiment with different types of marshmallows too! I highly encourage you to give these S’mores Cookie Bars a try. They are surprisingly easy to make and the smiles they bring are truly rewarding. You’ll be amazed at how quickly they disappear!
Frequently Asked Questions:
Can I make these S’mores Cookie Bars ahead of time?
Absolutely! These bars are excellent for making ahead. Once cooled completely, store them in an airtight container at room temperature for up to 3 days. If you want to reheat them, a few seconds in the microwave or a brief stint in a warm oven can bring back that gooey goodness.
What kind of chocolate is best for these bars?
While milk chocolate chips are traditional and create a lovely sweetness, feel free to experiment! A mix of milk and dark chocolate chips provides a more complex flavor. For a richer taste, you can even use chopped chocolate bars. The key is to use good quality chocolate that melts well.
S’mores Cookie Bars
Decadent bars featuring a graham cracker base, chewy cookie dough, melted chocolate, and toasted marshmallows.
Ingredients
-
7-8 graham crackers ((full sheets/unbroken rectangles))
-
1 cup unsalted butter ((2 sticks) room temperature)
-
¾ cup granulated sugar
-
¾ cup light brown sugar (gently packed)
-
2 large eggs
-
2 tsp vanilla extract
-
3 cups all-purpose flour ((stir, spoon, & level))
-
¾ tsp salt
-
¾ tsp baking soda
-
½ cup semi-sweet chocolate chips
-
1 cup mini marshmallows
-
2 regular sized Hershey’s Milk Chocolate Bars ((two 1.55oz/43g bars) broken into squares)
Instructions
-
Step 1
Preheat oven to 350°F (175°C). Line a 9×13 inch baking pan with parchment paper, leaving an overhang. -
Step 2
Crush graham crackers into fine crumbs. Press crumbs evenly into the bottom of the prepared baking pan to form the base. -
Step 3
In a large bowl, cream together softened butter, granulated sugar, and brown sugar until light and fluffy. Beat in eggs one at a time, then stir in vanilla extract. -
Step 4
In a separate bowl, whisk together flour, salt, and baking soda. Gradually add dry ingredients to the wet ingredients, mixing until just combined. -
Step 5
Spread half of the cookie dough evenly over the graham cracker base. Sprinkle with semi-sweet chocolate chips and broken Hershey’s chocolate bar squares. -
Step 6
Dollop the remaining cookie dough over the chocolate layer. Gently press down to distribute. -
Step 7
Bake for 20-25 minutes, or until the edges are golden brown and the center is set. Remove from oven and immediately sprinkle mini marshmallows and remaining chocolate bar squares over the hot bars. Return to oven for 2-3 minutes, or until marshmallows are puffed and slightly golden. -
Step 8
Let cool completely in the pan before lifting out by the parchment paper overhang. Cut into bars.
Important Information
Nutrition Facts (Per Serving)
It is important to consider this information as approximate and not to use it as definitive health advice.
Allergy Information
Please check ingredients for potential allergens and consult a health professional if in doubt.