Easy Caramel Apples Recipe – Simple Homemade Treat
Easy caramel apples are a perfect fall treat that doesn’t need to wait for the leaves to change. The satisfying crunch of a tart Granny Smith apple dipped in sweet, glossy caramel is pure happiness. Many people think making caramel apples at home is tricky, but this recipe makes it surprisingly simple. We use basic ingredients you probably already have, and the steps are broken down so you can get that beautiful, even coating every single time. The secret to smooth, shiny caramel that sticks is using just a bit of heavy cream, which also makes the caramel easier to work with. Don’t worry if you haven’t made them before; these are genuinely easy and a guaranteed hit for parties or just a fun weekend activity. They look so professional, but they’re incredibly straightforward to create yourself.
Preparing the Apples
First things first, we need to get our apples ready. It’s important to wash your apples thoroughly and then dry them completely. Any moisture on the apple’s surface can prevent the caramel from sticking properly, leaving you with a less-than-perfect coating. After washing and drying, we’ll need to insert the sticks. For each apple, firmly push a craft stick, popsicle stick, or even a sturdy skewer about halfway into the stem end. Make sure it’s secure enough to hold the weight of the apple and caramel. If the stem is still attached, you can push the stick through it,

Ingredients:
- 7 small granny smith apples ((about 2 1/4 lbs))
- 15 oz. caramels, (such as Werther’s Chewy*)
- 3 Tbsp heavy cream
- Various toppings, (optional (see notes()))
Easy Caramel Apples
Caramel apples are one of those treats that just feel like autumn, even if you’re making them on a warm spring day. The crisp tartness of a Granny Smith apple paired with that sweet, gooey caramel coating is pure magic. Making them at home might sound complicated, but it’s surprisingly straightforward, especially with this recipe. We’re using simple, readily available ingredients and keeping the steps clear so you can achieve that perfect candy shell every time. The key is to get the caramel to the right consistency before dipping, and that’s where a little bit of heavy cream comes in to ensure smoothness and shine. Don’t be intimidated; these are truly easy to make and a huge hit with kids and adults alike.
Preparing the Apples
First things first, we need to get our apples ready. It’s important to wash your apples thoroughly and then dry them completely. Any moisture on the apple’s surface can prevent the caramel from sticking properly, leaving you with a less-than-perfect coating. After washing and drying, we’ll need to insert the sticks. For each apple, firmly push a craft stick, popsicle stick, or even a sturdy skewer about halfway into the stem end. Make sure it’s secure enough to hold the weight of the apple and caramel. If the stem is still attached, you can push the stick through it, but for a cleaner look and a more stable attachment, remove the stem first. Wiggling the stick gently as you push it in can help create a slightly wider opening for a better grip.
Melting the Caramel
Now, let’s get to the star of the show: the caramel. You’ll need your 15 ounces of caramels. Unwrap them all – yes, it’s a bit of a chore, but it’s worth it! You can do this in a few ways. The easiest method is often in the microwave. Place the unwrapped caramels in a microwave-safe bowl. Add the 3 tablespoons of heavy cream. Microwave on high in 30-second intervals, stirring well after each interval, until the caramels are completely melted and smooth. Be patient; it might take a few rounds. Alternatively, you can use a double boiler on the stovetop. Place the unwrapped caramels and heavy cream in the top pot of the double boiler, making sure the water in the bottom pot isn’t touching the bottom of the top pot. Stir continuously until smooth and melted. The heavy cream is essential here; it thins out the caramel just enough to make it dippable and gives it that beautiful, glossy finish. If your caramel seems too thick, you can add another teaspoon of cream at a time, stirring until it reaches your desired consistency. You want it to be pourable but not watery.
Coating the Apples
Once your caramel is smooth and ready, it’s time for the fun part: dipping the apples! Working one apple at a time, hold it by the stick and dip it into the melted caramel. You’ll want to swirl the apple gently, tilting the bowl as needed, to coat the apple evenly. Aim to cover about two-thirds to three-quarters of the apple, leaving some of the green skin exposed at the top. This not only looks nice but also provides a convenient spot to hold the apple without getting your fingers covered in caramel. After dipping, let any excess caramel drip back into the bowl for a few seconds. Don’t swirl too vigorously, or you might dislodge the apple from the stick. If you find a few thin spots, you can use a spoon to drizzle a little extra caramel over them.
Setting the Caramel
After dipping each apple, it’s crucial to let the caramel set. You have a couple of options for this. The most common method is to place the coated apples on a baking sheet lined with parchment paper or wax paper. Make sure the apples aren’t touching each other, or they’ll stick together as they set. Allow them to sit at room temperature for about 30-60 minutes, or until the caramel is firm to the touch. For faster setting, you can pop the baking sheet into the refrigerator for about 15-20 minutes. Be aware that refrigerating them might make the caramel slightly harder. If you plan to add toppings, it’s best to do so while the caramel is still slightly soft but not completely liquid, so they adhere well.
Adding Toppings (Optional)
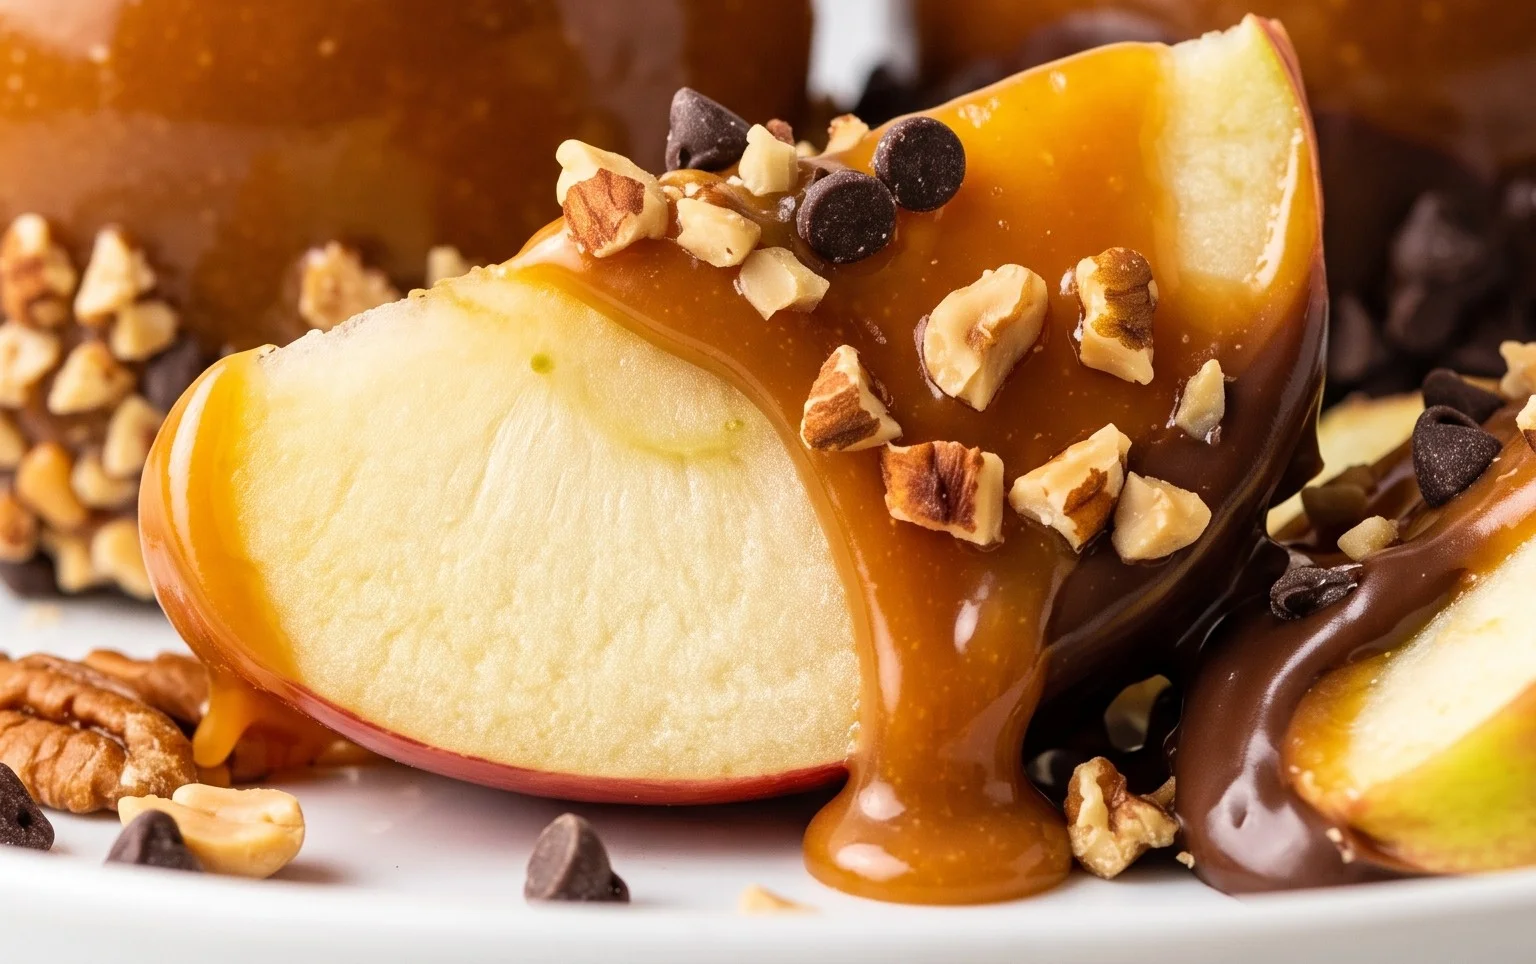
This is where you can really get creative! While plain caramel apples are delicious, adding toppings takes them to another level. You can prepare your toppings while the caramel is melting or while the apples are setting. Chop nuts (peanuts, pecans, almonds), sprinkles, mini chocolate chips, shredded coconut, or even crushed cookies are fantastic choices. Gently roll or press the toppings onto the caramel coating immediately after dipping the apple, before the caramel has fully set. If the caramel has already hardened a bit, you can lightly drizzle a little extra melted caramel over the dipped apple, then immediately apply the toppings. This acts like a little edible glue. For those who love chocolate, you can also melt some chocolate chips (milk, dark, or white) and drizzle them over the caramel-coated apples for an extra layer of flavor and visual appeal.
Serving and Storing
Once your caramel apples are completely set and all your toppings are in place, they are ready to be enjoyed! They are best eaten within a day or two. If you have leftovers and need to store them, wrap each apple individually in plastic wrap or place them in an airtight container. Store them at room temperature if your house is on the cool side, or in the refrigerator if it’s warm. Refrigerated caramel apples will have a firmer caramel coating. When you’re ready to eat a refrigerated apple, let it sit out at room temperature for about 15-20 minutes to soften the caramel slightly, making it easier to bite into. Enjoy these delightful homemade treats!
Conclusion:
Making your own easy caramel apples is a rewarding and delicious project that always brings smiles. The combination of the crisp, tart apple with the rich, sweet caramel coating is a classic for a reason. This recipe proves that you don’t need to be a candy-making expert to achieve fantastic results. They’re perfect for a fall gathering, a fun activity with kids, or just a special homemade treat. Serve them on a platter for a beautiful dessert display, or wrap them individually for party favors. You can also experiment with different apple varieties, like Honeycrisp for a sweeter base, or add a drizzle of melted chocolate over the caramel for extra indulgence.
What kind of apples work best?
Granny Smith apples are recommended because their tartness balances the sweetness of the caramel perfectly. However, other firm, crisp apples like Honeycrisp, Fuji, or Gala will also work well.
How do I store leftover caramel apples?
Store them in the refrigerator. You can wrap each apple individually in plastic wrap or place them in an airtight container. They are best enjoyed within a few days.
Can I make the caramel ahead of time?
Yes, you can make the caramel mixture a day in advance. Store it in an airtight container in the refrigerator. Gently reheat it on the stovetop or in the microwave, adding a little more cream if needed to reach the right consistency before dipping.
Easy Caramel Apples
A simple recipe for classic caramel apples, perfect for a fun treat.
Ingredients
-
7 small granny smith apples
-
15 oz caramels
-
3 Tbsp heavy cream
-
Food-grade popsicle sticks or skewers
-
Parchment paper
-
Assorted toppings such as chopped nuts, sprinkles, or mini chocolate chips (optional)
Instructions
-
Step 1
Wash and thoroughly dry the apples. Insert a sturdy popsicle stick or skewer into the stem end of each apple. -
Step 2
Line a baking sheet with parchment paper and set aside. -
Step 3
In a microwave-safe bowl, combine the caramels and heavy cream. Microwave in 30-second intervals, stirring between each, until the caramels are completely melted and smooth. -
Step 4
Hold an apple by the stick and carefully dip it into the melted caramel, tilting to coat evenly. Allow excess caramel to drip back into the bowl. -
Step 5
Place the caramel-coated apple onto the prepared parchment paper. If using, immediately sprinkle with desired toppings. -
Step 6
Repeat with the remaining apples. Let the caramel apples set at room temperature or in the refrigerator for about 15-20 minutes until the caramel has hardened.
Important Information
Nutrition Facts (Per Serving)
It is important to consider this information as approximate and not to use it as definitive health advice.
Allergy Information
Please check ingredients for potential allergens and consult a health professional if in doubt.