Easy Homemade Pickled Banana Peppers Recipe
Pickled banana peppers are an absolute game-changer for any sandwich, salad, or appetizer. There’s something incredibly satisfying about that tangy, slightly sweet, and delightfully crisp bite that these vibrant peppers deliver. Forget boring condiments; these zesty jewels elevate everything they touch. I absolutely adore pickled banana peppers because they offer a unique flavor profile that’s far more complex and nuanced than your average pickle. The mild heat, coupled with the briny goodness and a hint of sweetness from the pickling liquid, creates a symphony for your taste buds. What truly makes them special, in my opinion, is their versatility and the bright pop of color they add to any dish, making them a must-have in my refrigerator for those moments when I need a little culinary magic.
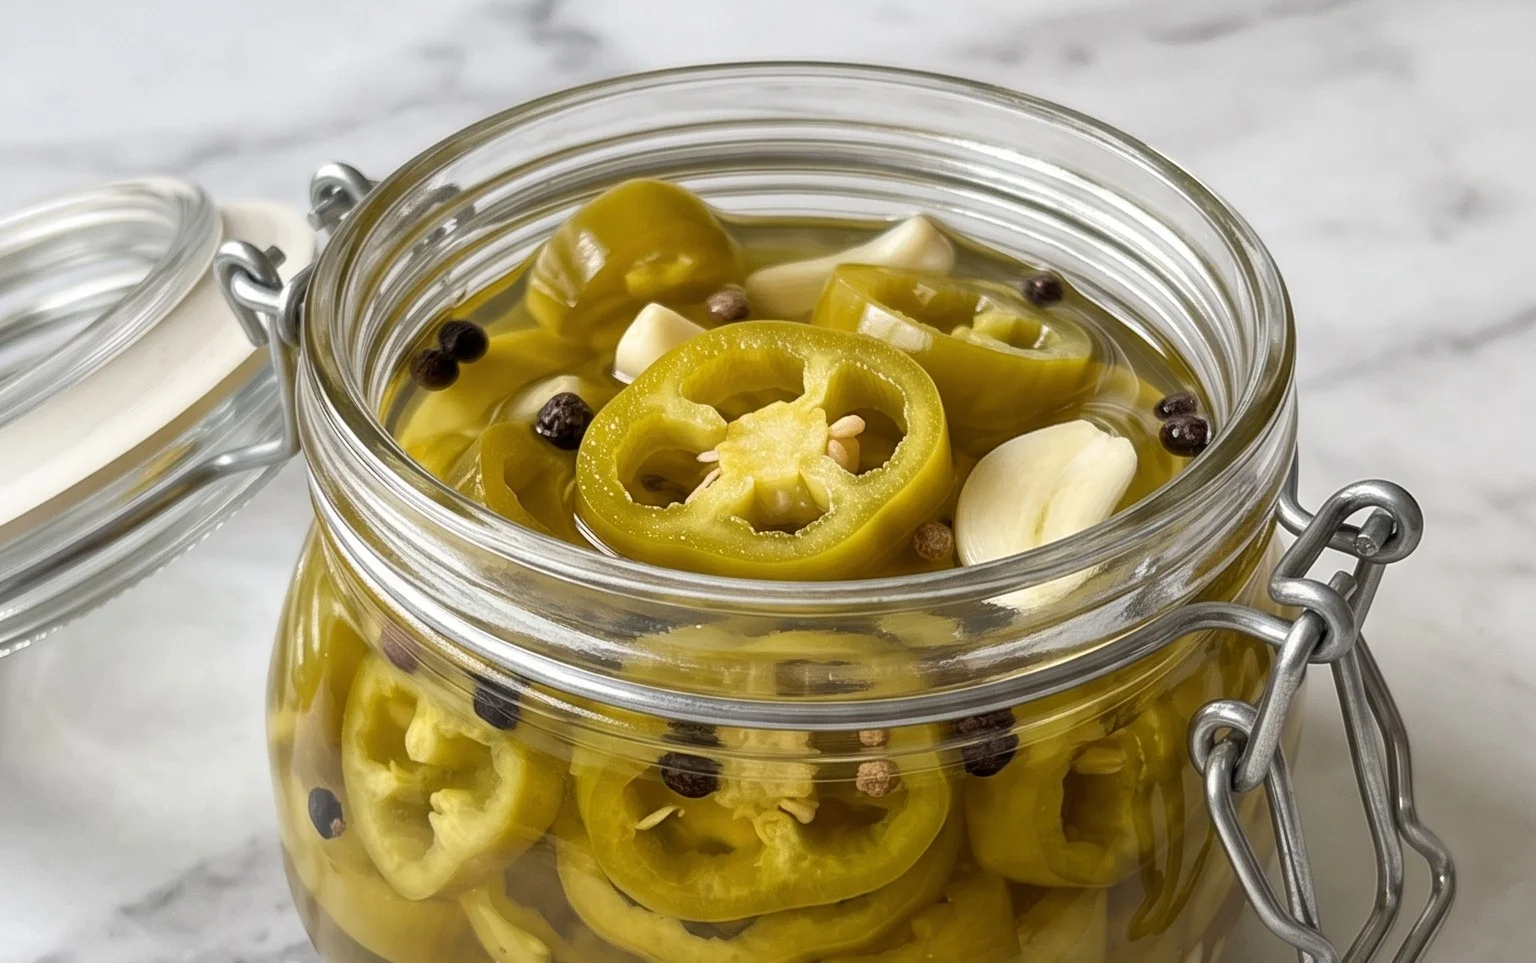
Pickled Banana Peppers
There’s something incredibly satisfying about homemade pickles. They offer a vibrant tang and a delightful crunch that store-bought versions often lack. And when it comes to peppers, banana peppers are a fantastic choice for pickling. Their mild heat and slightly sweet flavor make them incredibly versatile. You can enjoy these pickled banana peppers on sandwiches, burgers, pizzas, or even as a zesty addition to salads. This recipe is wonderfully straightforward, and the results are so rewarding. Prepare to have your new favorite condiment!
Ingredients:
- 1 lb banana peppers (sliced)
- 1 cup white vinegar 5% or apple cider vinegar 5%
- 1 cup of water
- 2 tsp salt
- 3 tsp sugar
- 10-12 garlic cloves
- 3 tsp mustard seeds
- 2 tsp whole black pepper
- 2 tsp coriander seeds
Preparing Your Peppers and Jars
Before we dive into the brining process, let’s get our ingredients ready. Start by thoroughly washing your banana peppers. You can choose to remove the seeds and membranes if you prefer a milder pickle, or leave them in for a bit more punch. For this recipe, slicing them into about ¼-inch thick rings is ideal. This allows the brine to penetrate the peppers effectively and makes them easy to handle.
Next, let’s prepare our jars. Sterilizing your jars is crucial for safe and long-lasting pickles. You can do this by washing them thoroughly in hot, soapy water and then placing them in a preheated oven at 250°F (120°C) for at least 15 minutes. Alternatively, you can run them through a dishwasher cycle. Make sure to have your lids and rings ready as well.
Crafting the Brine
The heart of any pickle recipe lies in its brine, and this one is a beautiful balance of tangy, savory, and subtly sweet. In a medium saucepan, combine the white vinegar (or apple cider vinegar – both work wonderfully, offering a slightly different nuanced flavor profile) with the water. Add the salt and sugar. It’s important to use a vinegar with at least 5% acidity for proper preservation. Stir these ingredients together until the salt and sugar are completely dissolved. This might take a minute or two over medium heat. Don’t bring it to a rolling boil just yet; we’re just aiming to dissolve the solids.
Assembling the Pickles
Now it’s time to assemble our pickles! Place the peeled garlic cloves into the bottom of your sterilized jars. Then, add the mustard seeds, whole black peppercorns, and coriander seeds. Distribute these spices evenly between the jars. Next, pack the sliced banana peppers tightly into the jars. You want to fit as many pepper slices as possible without overstuffing them, which could prevent the brine from circulating properly.
Brining and Sealing
Once your jars are packed with peppers and spices, it’s time to pour in the brine. Bring the vinegar and water mixture to a gentle boil over medium-high heat. Once it’s bubbling, carefully pour the hot brine over the peppers and spices in the jars, ensuring they are fully submerged. Leave about ½ inch of headspace at the top of each jar. You might need to gently tap the sides of the jars to release any trapped air bubbles.
After filling, wipe the rims of the jars clean with a damp cloth to ensure a good seal. Place the lids on the jars and screw on the rings until they are fingertip-tight. Do not overtighten.
The Waiting Game: Fermentation and Flavor Development
This is where the magic happens! Let the jars cool on your counter for a few hours. As they cool, you might notice the lids beginning to “pop” as they create a vacuum seal. Once they are completely cool, transfer the jars to the refrigerator. You can start enjoying your pickled banana peppers after about 24-48 hours, but their flavor will continue to develop and deepen over the next week or two. The longer they sit in the brine, the more intense and nuanced the flavors become. Remember to always store your pickled peppers in the refrigerator.
These pickled banana peppers are wonderfully bright and add a fantastic zesty element to so many dishes. I love having a jar on hand for quick additions to meals. Enjoy experimenting with them!
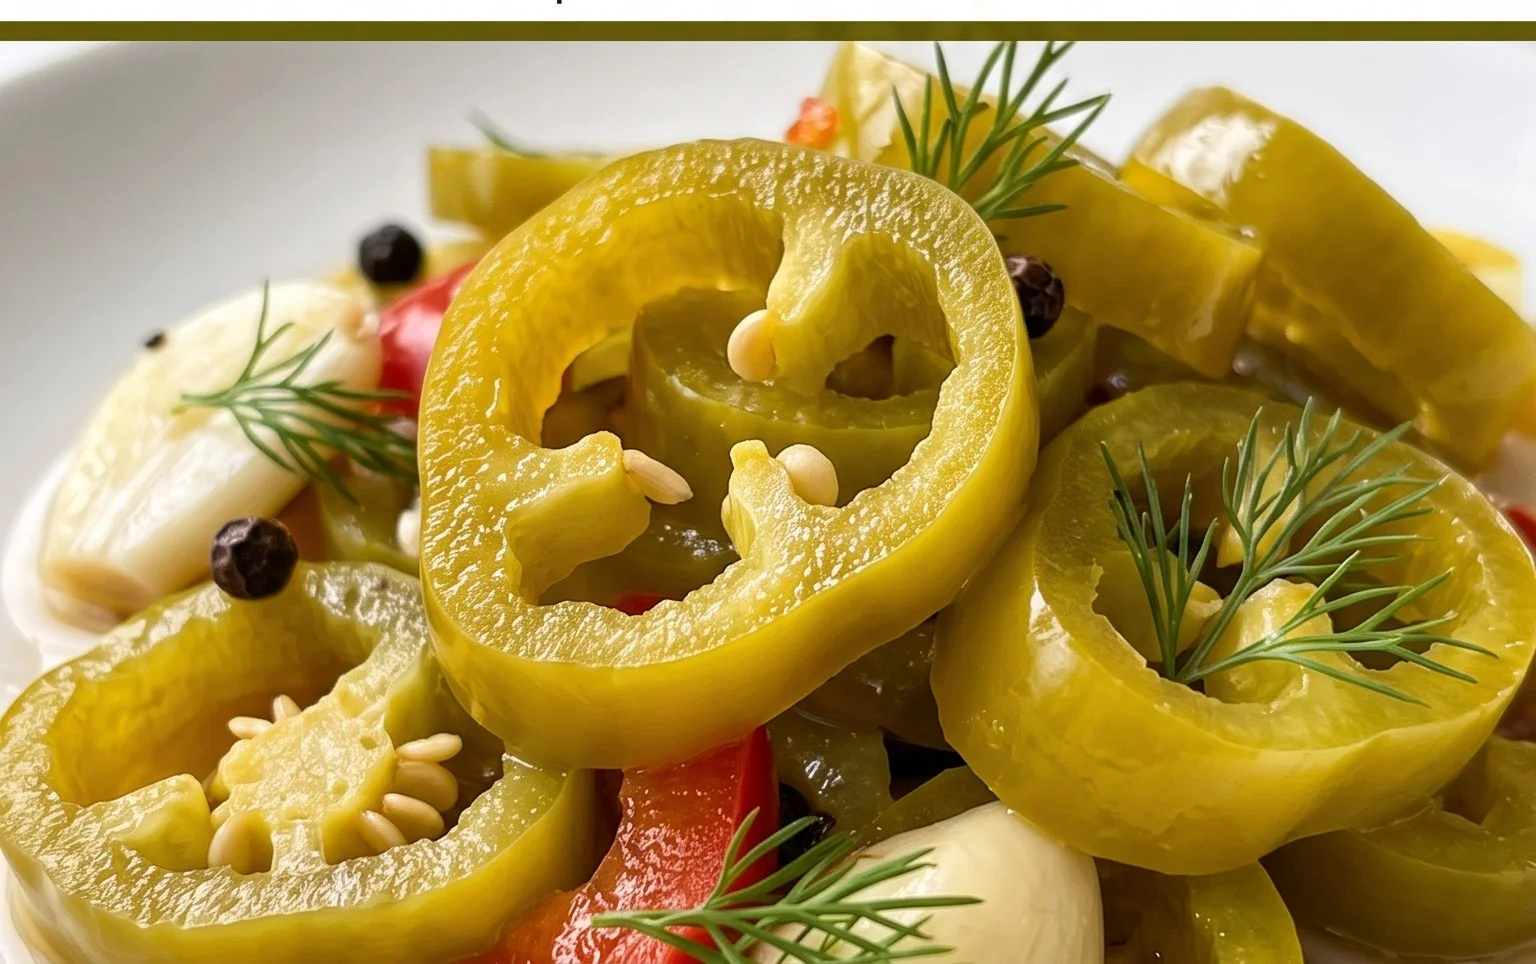
Conclusion:
And there you have it! My simple yet incredibly rewarding recipe for pickled banana peppers. This recipe is fantastic because it transforms ordinary peppers into a zesty, crunchy condiment bursting with tangy flavor. It’s surprisingly easy to whip up a batch, and the vibrant taste they bring to any dish is truly unmatched. Whether you’re a seasoned pickler or a complete beginner, I highly encourage you to give this pickled banana peppers recipe a try. The payoff in terms of deliciousness and versatility is enormous!
These delightful pickled banana peppers are perfect for elevating your favorite sandwiches, burgers, and pizzas. They add a welcome pop of acidity and a subtle heat that cuts through richness. Don’t limit yourself, though! I love them tossed into pasta salads, chopped into relish for hot dogs, or even served as part of a charcuterie board. For variations, feel free to experiment with adding a pinch of red pepper flakes for extra spice, a clove or two of garlic to the brine for more depth, or even a sprig of fresh dill. The possibilities are truly endless, and each batch can be uniquely yours!
Frequently Asked Questions about Pickled Banana Peppers:
Q: How long do pickled banana peppers last?
A: When stored properly in a sealed jar in the refrigerator, your pickled banana peppers should stay fresh and delicious for at least 2-3 months. The pickling brine acts as a natural preservative, but it’s always best to check for any signs of spoilage before consuming.
Q: Can I use other types of peppers besides banana peppers?
A: Absolutely! While this recipe is specifically for banana peppers, you can certainly experiment with other mild to medium-hot peppers like Hungarian wax peppers or even some milder jalapeños. Just remember that the flavor profile will change depending on the pepper you choose.
Pickled Banana Peppers
Crisp and tangy pickled banana peppers, perfect for sandwiches, pizzas, or as a zesty condiment.
Ingredients
-
1 lb banana pepper, sliced
-
1 cup white vinegar 5% or apple cider vinegar 5%
-
1 cup water
-
2 tsp salt
-
3 tsp sugar
-
10-12 garlic cloves
-
3 tsp mustard seeds
-
2 tsp whole black pepper
-
2 tsp coriander seeds
Instructions
-
Step 1
Wash and slice the banana peppers, removing stems and seeds if desired. Peel garlic cloves. -
Step 2
In a medium saucepan, combine the white vinegar (or apple cider vinegar), water, salt, and sugar. Stir to dissolve the salt and sugar. -
Step 3
Add the mustard seeds, whole black pepper, and coriander seeds to the vinegar mixture. Bring the brine to a simmer over medium heat. -
Step 4
While the brine heats, pack the sliced banana peppers and garlic cloves tightly into clean jars. -
Step 5
Carefully pour the hot brine over the peppers and garlic in the jars, ensuring they are completely submerged. Leave about 1/2 inch of headspace. -
Step 6
Wipe the rims of the jars clean, secure the lids, and let them cool to room temperature. Refrigerate for at least 24 hours before serving to allow flavors to meld.
Important Information
Nutrition Facts (Per Serving)
It is important to consider this information as approximate and not to use it as definitive health advice.
Allergy Information
Please check ingredients for potential allergens and consult a health professional if in doubt.